

Let’s talk about one of the hidden gems in Windows 10 – Quick Assist.
Like many of you, I help family and friends out with their computers quite often. If someone is local to my area, I can easily stop by and pay them a visit. However, in this age of COVID-19 and the wide coverage of stay at home orders, that is not a simple task these days.
This is where Quick Assist comes in for those local folks and those who are not nearby.
The beauty of Quick Assist is that establishing a connection to the remote PC is a matter of just a couple of steps. In comparison to Remote Desktop Connection (RDC), establishing a remote and secure connection with Quick Assist to another PC is almost like flipping on a light switch while RDC is more like wiring that switch into the wall.
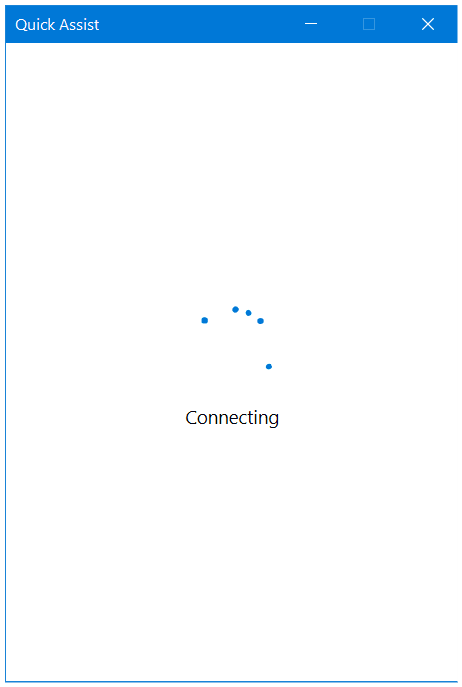
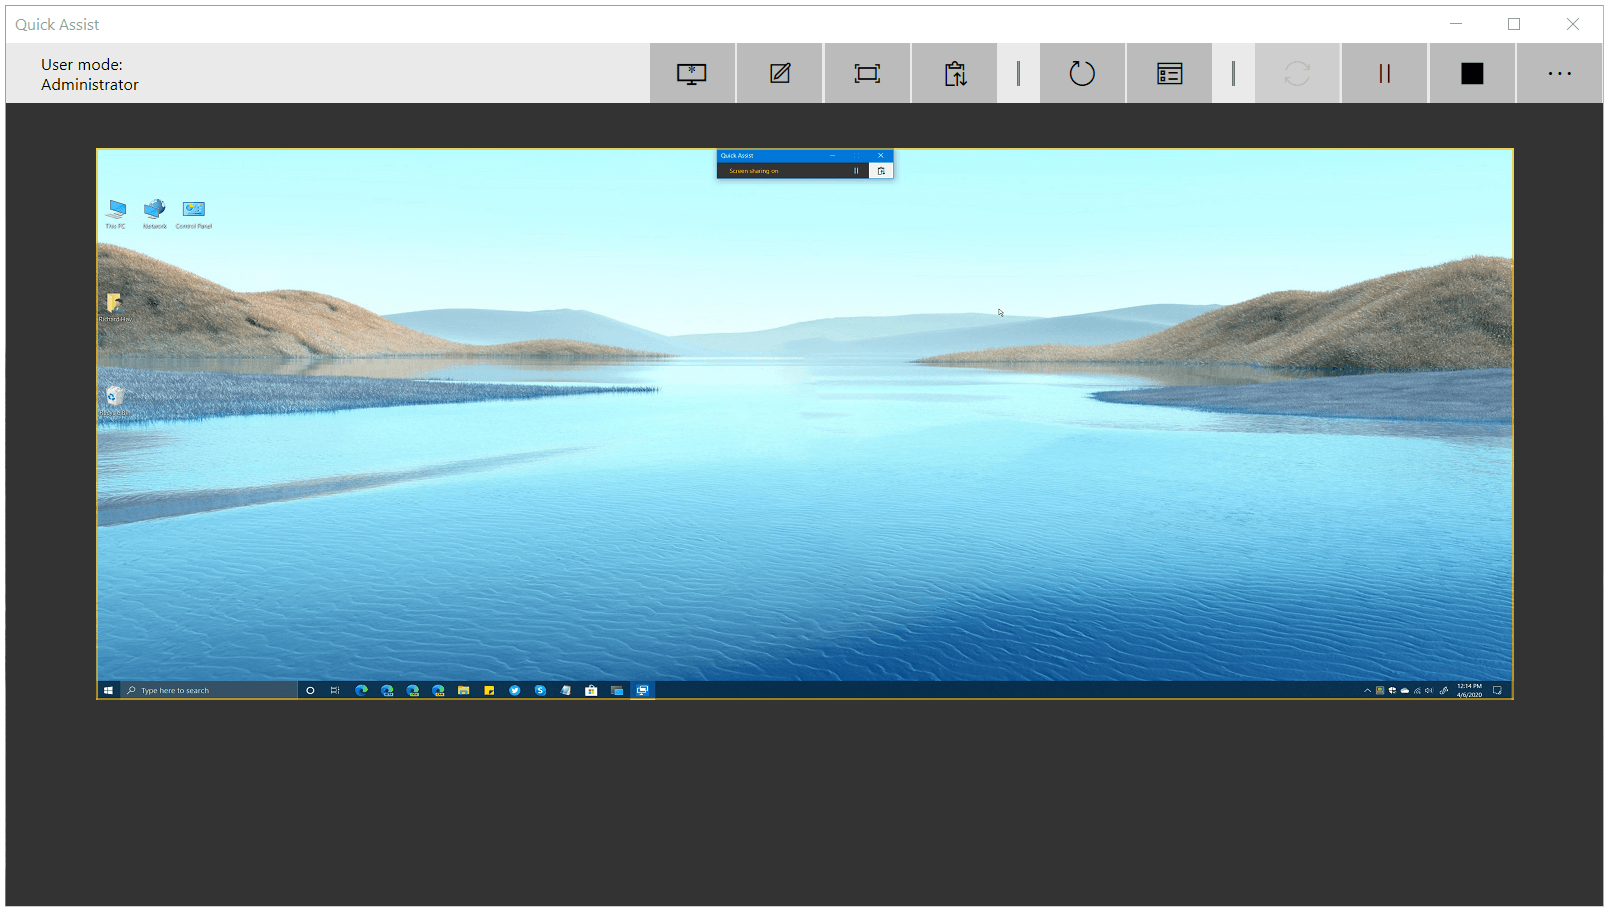
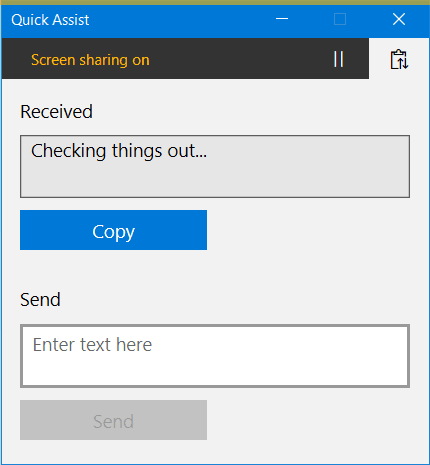
Below you will see a full gallery of images of both sides of the Quick Assist experience and it highlights a couple of handy features such as chat and inking support.
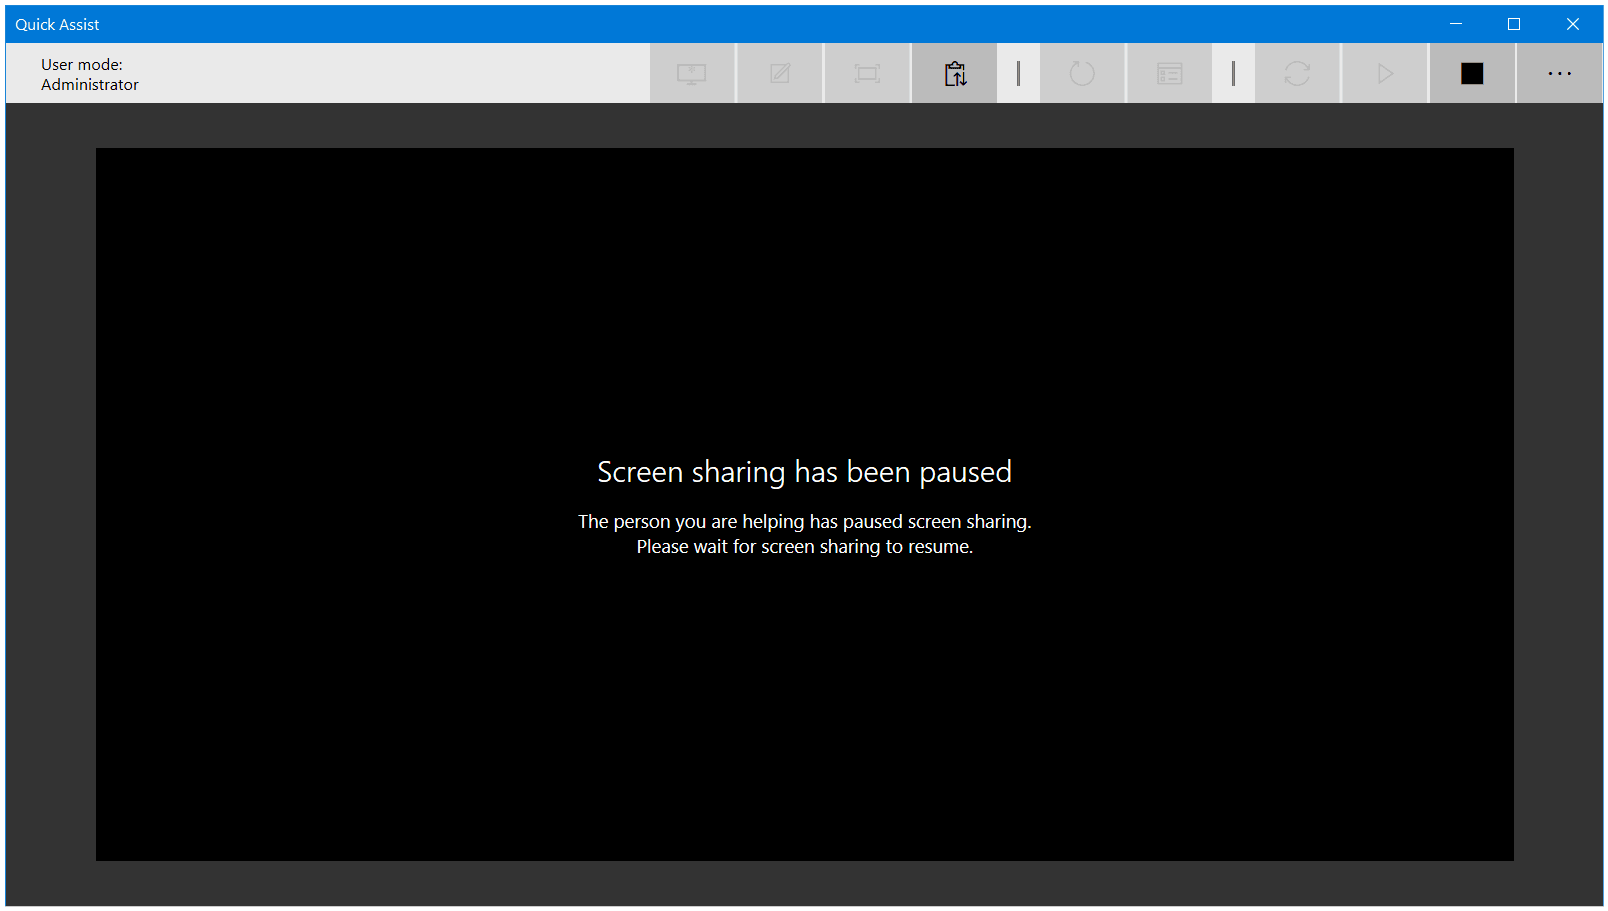
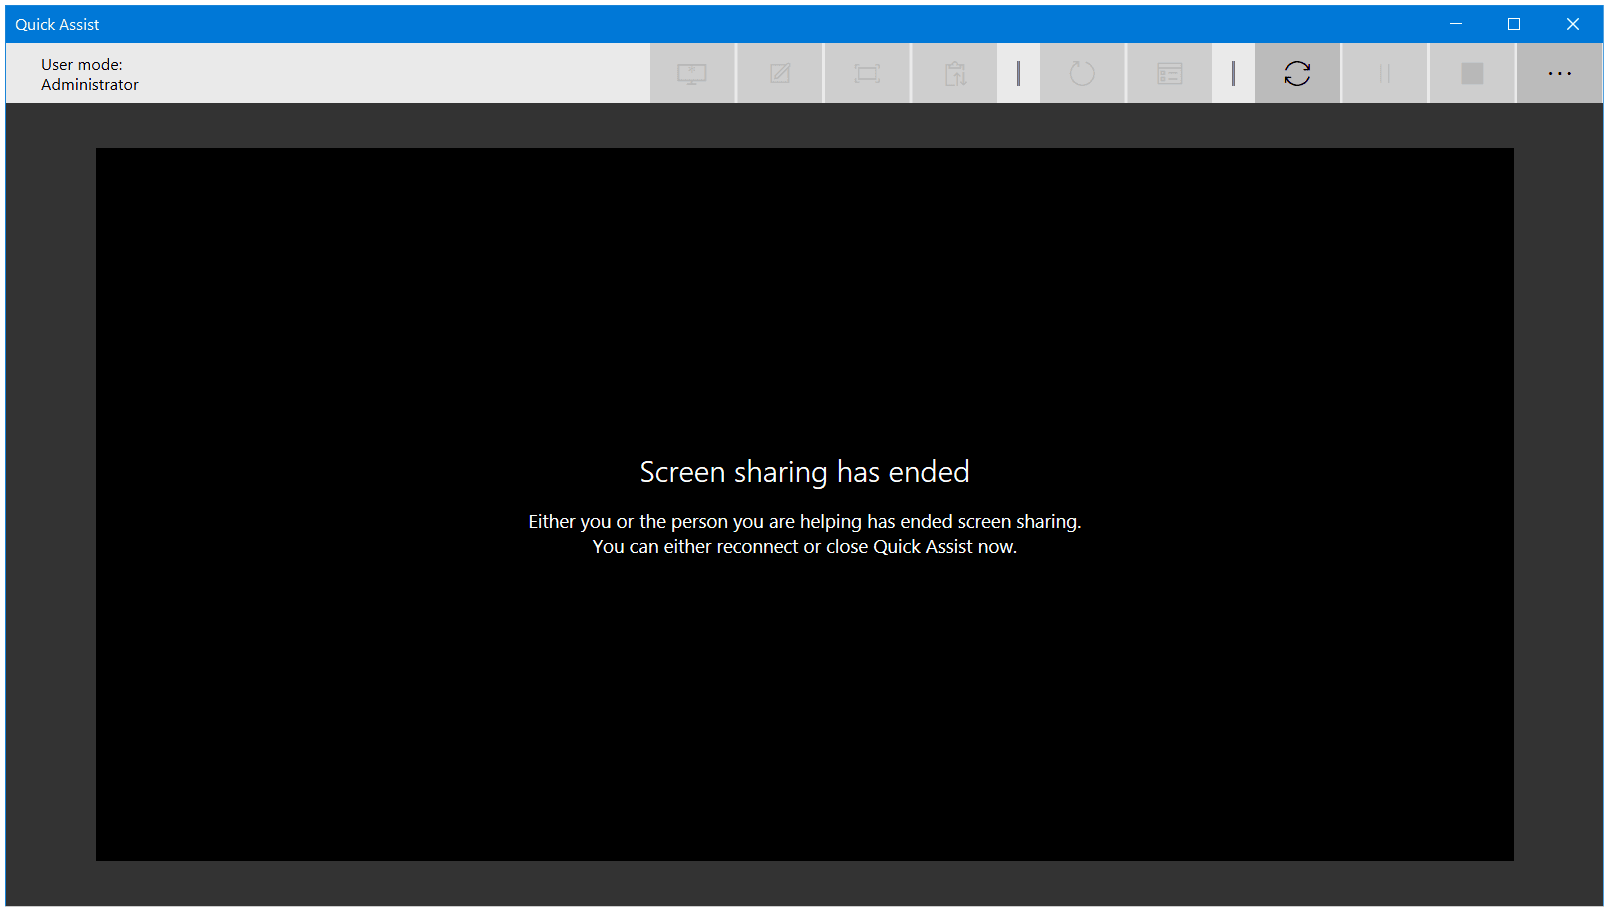
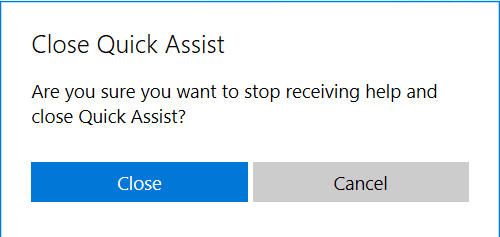
The individual receiving the support via Quick Assist is always in control of the connection between devices and must grant permission to share access to their machine to establish the initial connection. After that, they can terminate the sharing at anytime they feel it might be necessary and without any response necessary from the other end.
The Quick Assist program comes on Windows 10 Home and Pro versions of the operating system and is installed by default.
Here is the process to get Quick Assist up and running between two devices running Windows 10:
- Establish contact with the person needing assistance and ask them to open Quick Assist on their computer.
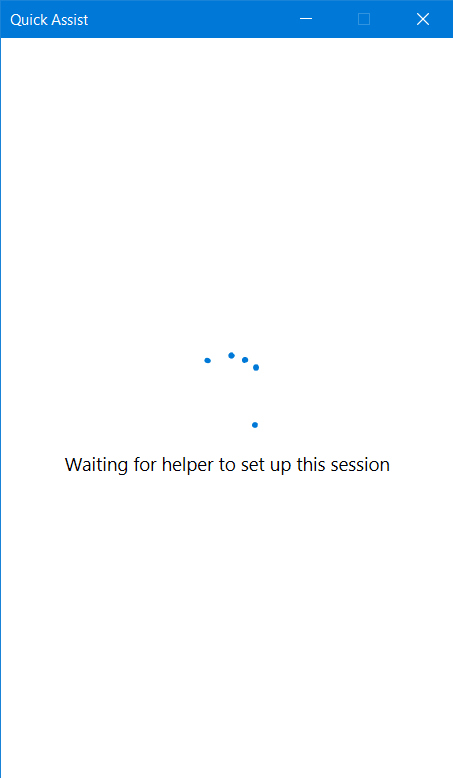
- Once both parties have Quick Assist open, the app will offer two choices – Get Assistance or Give Assistance. Since you know your roles, the person providing assistance should click Assist another person while the person waiting for help remains on this initial screen.
- The person providing assistance must now sign-in with a Microsoft Account to get started. The individual asking for assistance will not be required to sign-in on their device with Quick Assist.
- After signing in, the person providing assistance will see a six digit security code on their screen and a ten minute timer. Provide this six digit code to the individual that is being assisted. They will enter this into the initial Quick Assist screen they are seeing in the Code from assistant box. They should then click Share screen.
- Now the assistant will be prompted to either ask to take full control or to just view the end users screen. After selecting the appropriate option, click Continue.
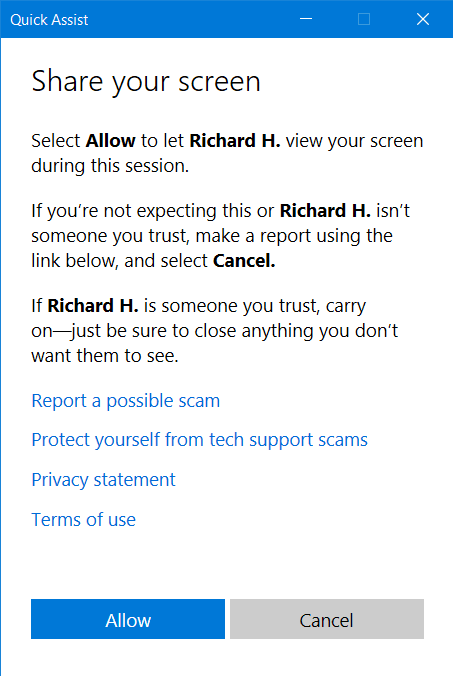
- The individual waiting for assistance will now see a dialog with details about the request to share their screen from the assistant. They should click Allow to initiate the connection between the two devices.
At this point, the assistant can see and access the other persons device and provide the assistance necessary.
As mentioned earlier, even after the connection has been established, the individual receiving the support through Quick Assist can terminate the sharing session at anytime.
I have used Quick Assist multiple times over the last several weeks. It has allowed me to address all types of issues on remote devices and get functionality and services back up and running on those machines without having to be physically present in front of the PC.
You can read more about Quick Assist over on the Windows 10 support website.
Windows 10 Quick Assist Screenshot Gallery


0 Comments